 Navigating foundation application can feel overwhelming amid fluid, mattifying, compact formulas, and various tools. As seasoned makeup artists know, each technique shines in its own way—it's all about finding your perfect match.
 The sponge is a time-saver for busy mornings, delivering even coverage in quick dabs while you sip your coffee. Easier to maneuver than a brush, spherical versions with handles offer the most natural results. Ideal for thicker mattifying foundations, lightly dampen the sponge for seamless blending. Note: sponges absorb product, shortening bottle life—especially with pricier formulas—and need frequent replacement for hygiene. Opt for high-quality natural rubber over polyester for durability and easier cleaning with hot water.
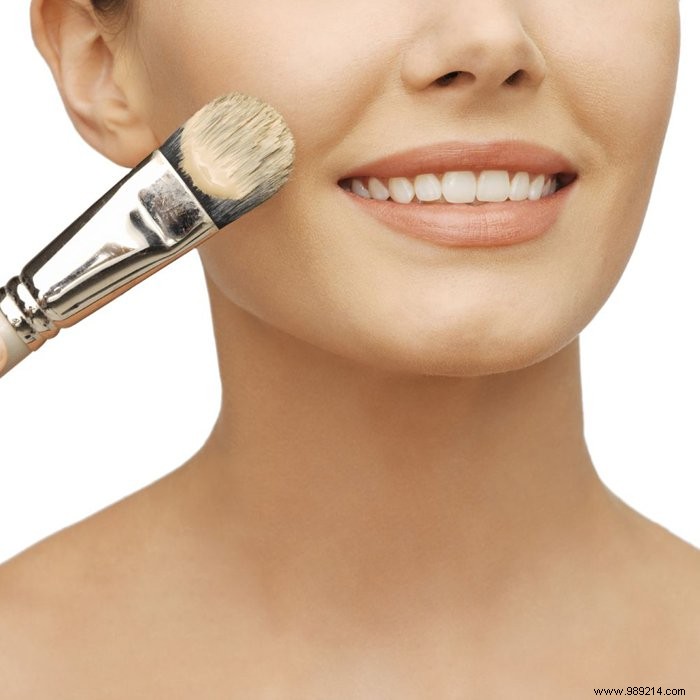
Brush Types for Precision Foundation Application
Video of the day:For liquid, hydrating fluids, or mousse foundations, a wide, flat brush works best—many come paired with perfectly matched ones. Dot product on key areas (forehead, nose, chin, mouth corners, cheekbones), then blend outward for a natural look. For fuller-coverage compacts, use a dense Kabuki brush or powder puff. Swipe in a '3' shape per side—from forehead to nose to jaw—repeating dry for flawless evenness.
Finger Application: Hygienic and Intuitive
Finger blending suits those skipping tool cleanup, and it's the cleanest option—washed hands harbor fewer bacteria than even sanitized brushes or sponges. Your fingertips intuitively target tricky spots like nose contours or hairlines, though it demands thorough blending. Warm the foundation in your palms first, then pat lightly across the face for optimal spread.